Star Watermark
Picture and PDF watermark tools on Windows PC and macOS
Add Image Watermark
How to Add Image Watermarks with Star Watermark for Mac
Add logos or image watermarks to photos with Star Watermark for Mac. This free, offline tool supports batch processing, making it faster than Photoshop.
-
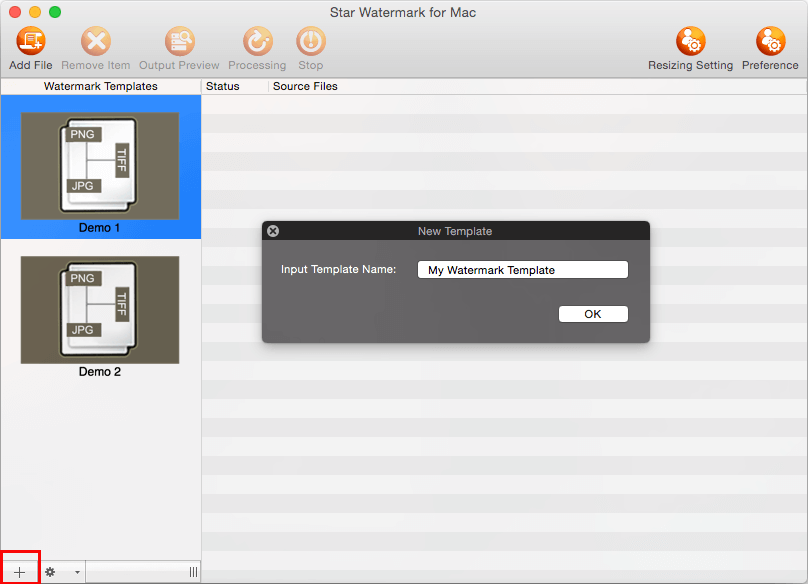
Create Your Watermark Template
Download Star Watermark, launch it, and create a new template. Double-click to edit.
-
Edit Your Watermark Template
Switch to the "Image" tab and set watermark style: image path, angle, transparency, width, height, and auto scale.
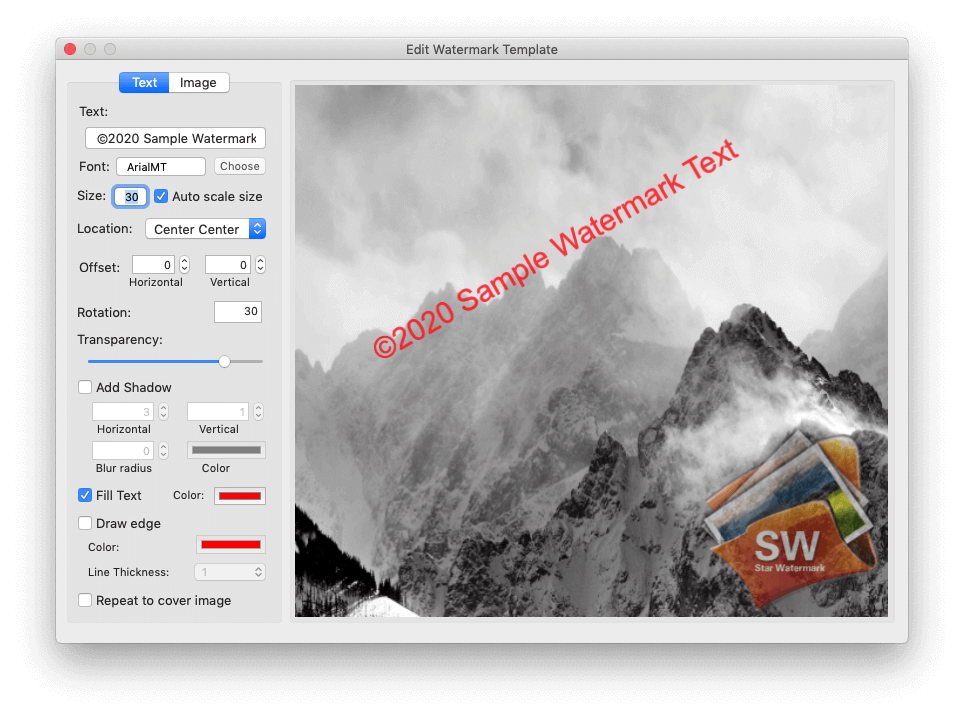
Auto Scale: Enable "Auto Scale" to adjust watermark size for different image dimensions.
Rotation: Adjust the angle of the image watermark.
Transparency: Set the image transparency level.
Location: Position the watermark (e.g., Center, Top Left) or rotate it.
Offset: Fine-tune the watermark’s position with offset values.
-
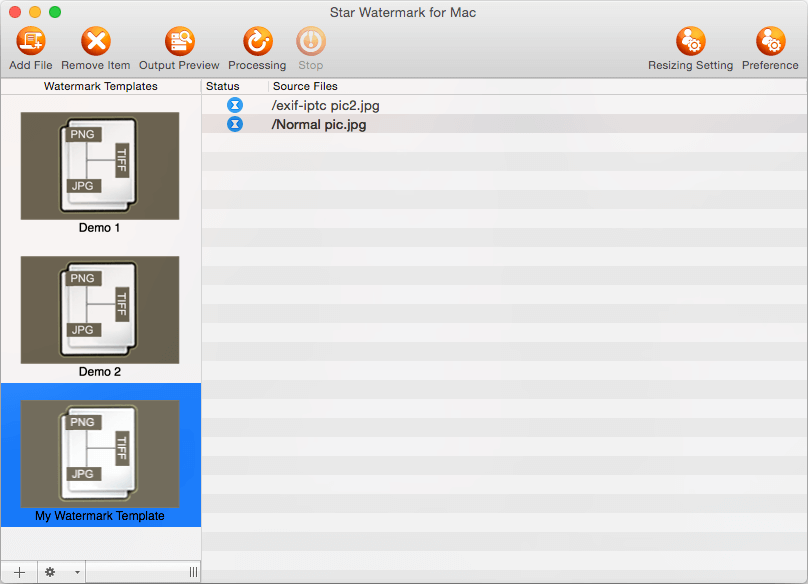
Select Your Template
After editing, close the "Edit Watermark Template" dialog. Select your template from the left panel.
-
Preview or Process
Click "Add Files" or drag images to the main dialog. Click "Output Preview" to check, then "Process" to apply watermarks.

-
View Watermarked Images
Output files are saved in the original directory with a "_new" suffix (e.g., "a.jpg" becomes "a_new.jpg").