Star Watermark
Image, Video and PDF watermark tools on Windows and macOS
Tutorial
How to Register Star Video Watermark for Windows? >>
How to watermark a video - add text to videos with Star video watermark for Windows >>
How to watermark for video - add image watermark on videos with Star video watermark for Windows >>
Batch add watermarks to videoF files with Star video Watermark for Windows? >>
Why we need use video watermark software? >>
Why Choose Star Video Watermark for Windows? >>
Star Video Watermark Ultimate edition tutorial >>
Quick Start Tutorial:
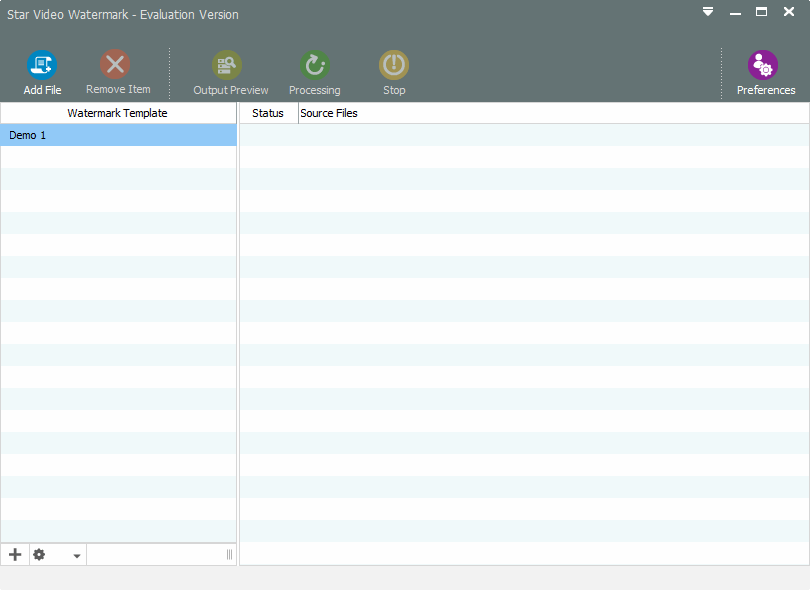
Step 1: Launch Star Video Watermark Program
Step 2: Edit your custom template

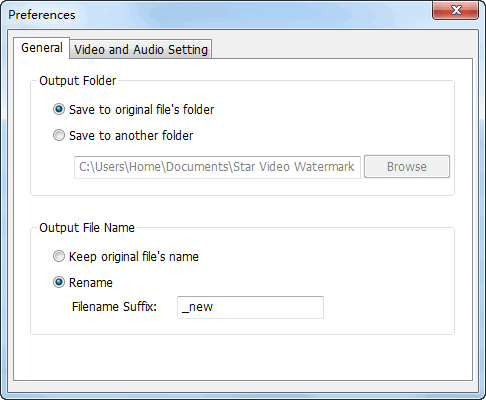
Step 3: Setting output options
Step 4: Apply Watermark to video files
(1) Add files: you have 2 ways to add files, drag and drop files directly into an application program interface, and the other is through the toolbar "Add Files" button to browse the file and add.
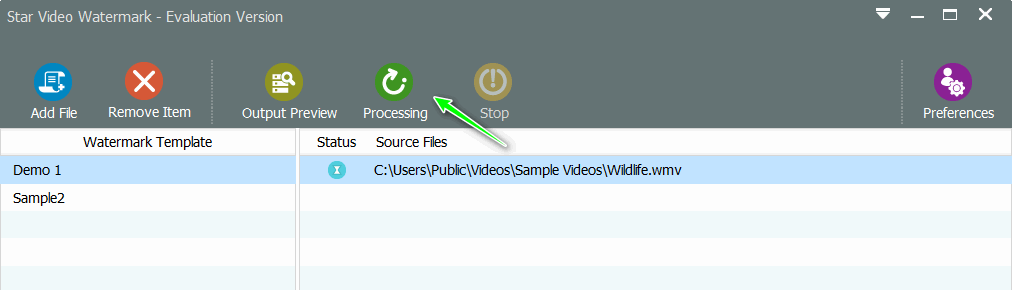
(2) Preview Results: Prior to watermark these video file, you can preview the output video files after adding the watermark. Here, you also have 2 ways to open the Preview dialog box, click the "Output Preview" button or double-click a source file.
(3) Start processing: Now, click in the toolbar's "Start Processing" to begin watermark all the source files.
Step 5: View Watermarked video file in Output Folder
After processing finished, the app will open output folder automatically, and you could find the output folder by click "Prefercence" on the toolbar and find "Output Folder" textfield.